
Hi guys i have been learning a new stitch this month called the moroccan tile stitch it is absoulutly stunning. I love the different colour combinations you can make.
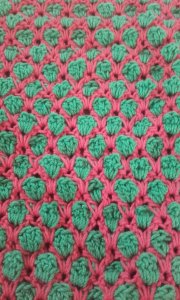
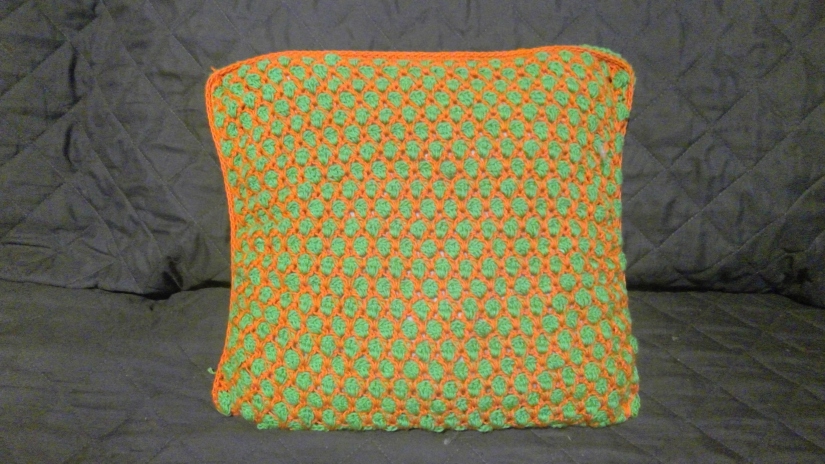
I made a cushion cover to use in my garden when i am crocheting and as it is summer we can be bold with colour choices. I am going to link a few videos tutourials on how to do the stitch.
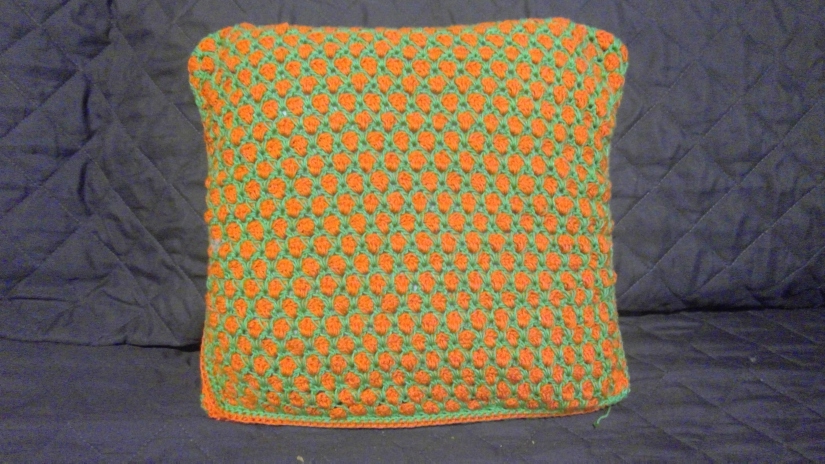
As i said i made a small cushion cover to start me off.
I used 2 balls of katia saigon yarn, 1 ball of orange and 1 ball of green, it made both sides of my cushion. One side is orange/green and the other is green/orange. If you watch the tutorial you will understand what this means. I used a 3.75 mm hook. and stitch markers for the end of part one of each row
I found that my edges were a bit tight so when i did my border it looks a bit tight and the cushion dosent sit well. But this is a new stitch to me and even though i used the crochetlovers tutorial i still did my end of row stitches slightly different.
So for my cover i started with a ch 60+2 this makes a cushion cover 14.5 x 14.5 inches
If you have a slightly bigger cushion you can make a chain with multiples of 3+2
For the written patten bare with me it sounds more complicated than it is, (I even get confused myself). Each row constist of 2 rows moving in the same direction if that makes sense.
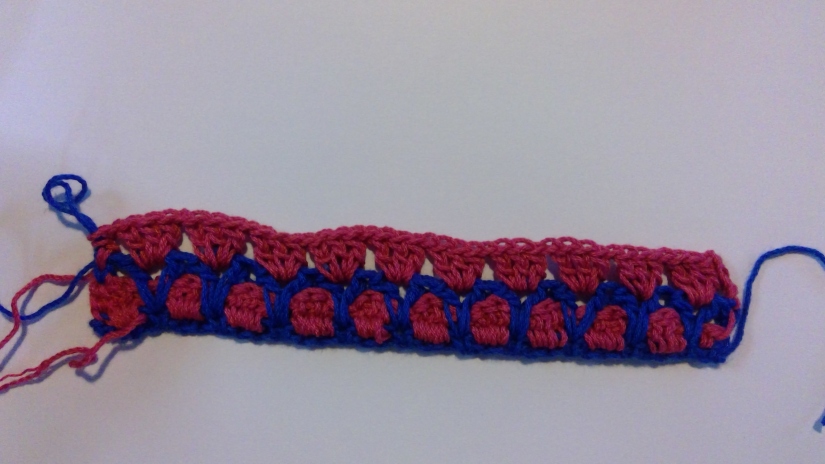
We start making the foundation rows before we get to the repeat pattern.
watch the videos before you start things will be more understandble too.
i will also put step by step pictures to acompany my instructions too.
ABBRIVIATONS (US terminology)
ch:chain mc:main colour
cc:contrast colour sc:single crochet
dc:doublecrochet st(s):stich(s)
sk:skip v-st:v-stitch
hdc:half double crochet sp: space
Cover (with 3.75 mm hook)
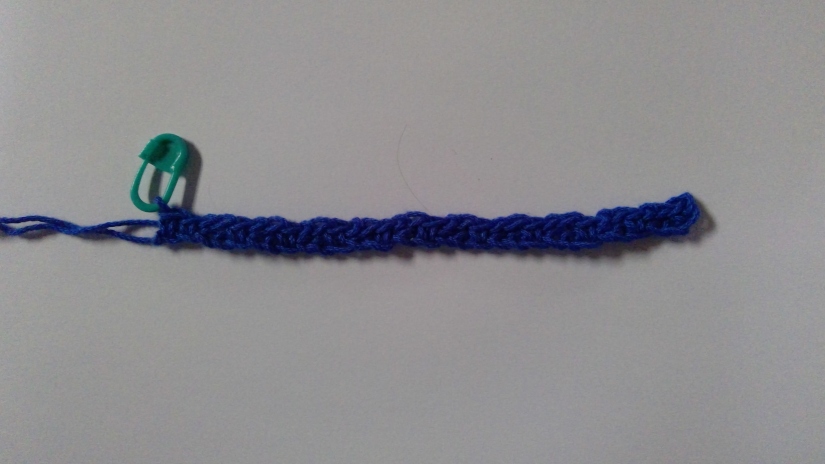
with mc ch 60+2 loosely
foundation row: (mc) sc in the 2nd ch from the hook * ch2,sk2, sc in the next. repeat from * to the last st, sc in the last st, pull up the loop and place a marker,
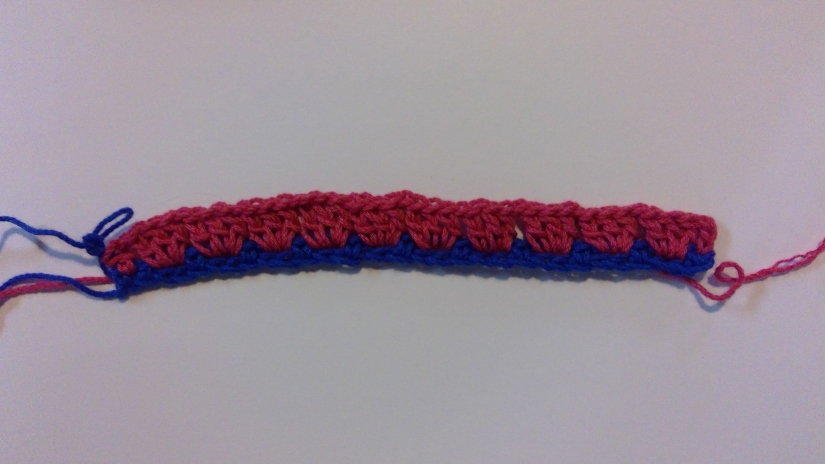
going back to the beginning of the row join your cc in the beginning sc and ch3, * 3dc ch1 in the ch2 sp, repeat from * to the last st, dc in the last sc picking up the mc.
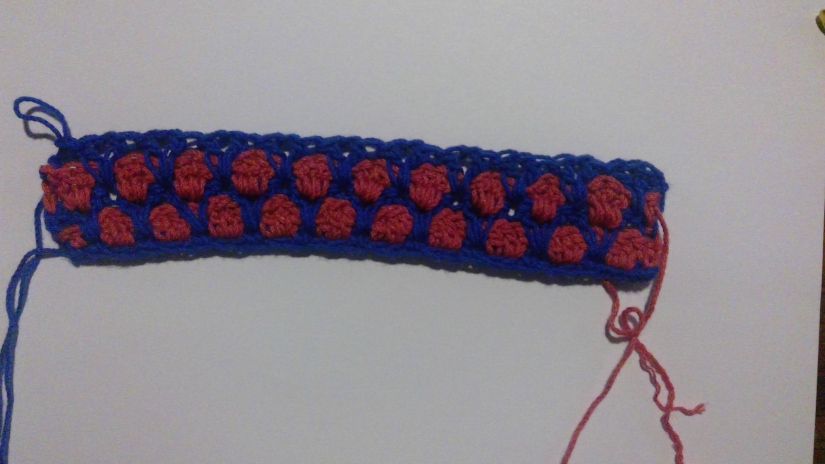
Row 1: (mc) turning your work ch3,* v-sts (dc,ch1,dc) in the sc of the previous row of mc inbetween the groups of 3 dc, repeat from * to the end dc in the top of the ch 3 from the previous round, place marker,
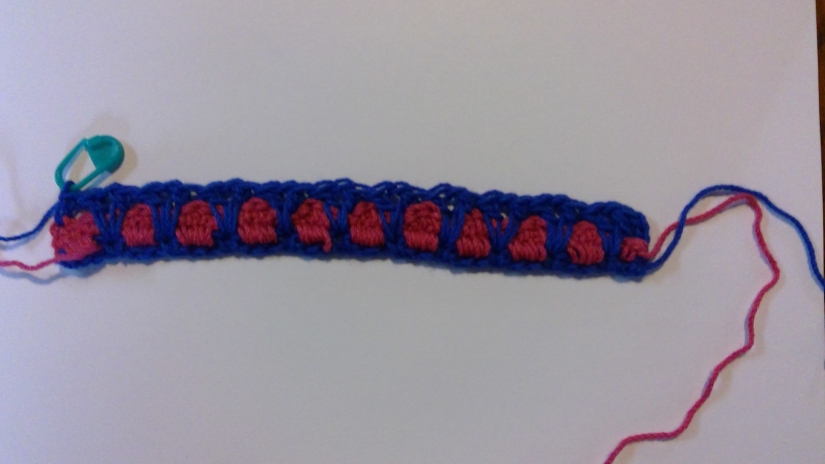
going back to the beginning pick up your cc in the top of the ch3, turn and ch4, *3dc ch in the ch1 sp of the v-st, repeat from * to the last st, dc into the dc of the previous row changing to your mc.
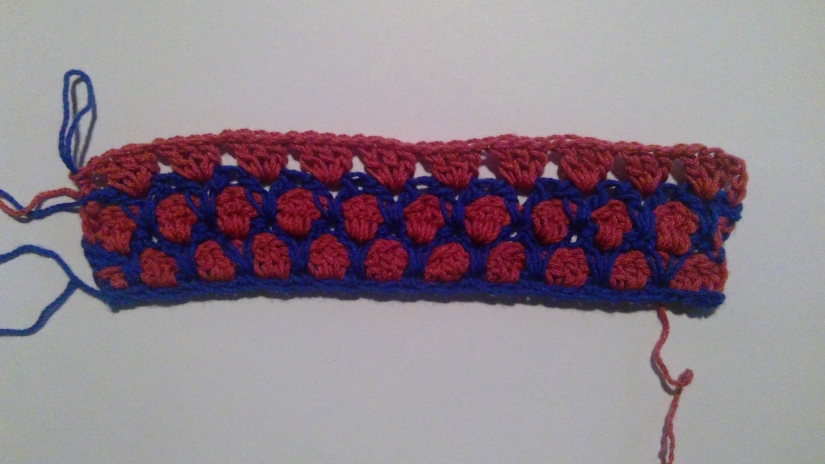
Row 2: turning your work ch 2, v-st in the st of the previous row of mc inbetween the dc and 3dc, * v-st in the st of the previous rnd of mc between the groups of 3dc, repeat from * to the last st, hdc in the 3rd ch in the beginning ch4 place your marker.
picking up your cc in the top of the begging ch 2, ch3, * 3dc into the ch1 sp of the v-st, ch1, repeat from * to the last st, dc into the hdc of the previous row changing back to your mc.
Repeat rows 1 and 2 until you have 22 rows + the foundation that makes 23, to complete the pattern you need to make a row of mc follow mc for row 1, make 1 sc around the cushion putting 3sc in each corner. Fasten off. MAKE SURE YOU HAVE THE SAME AMOUNT OF STITCHES AROUND FOR SEWING THE PIECES TOGETHER.
Repeat for the second side but reverse your colours
Place the two pieces together and make a sc around joining the two piece when you have finshed 3 sides place in your cushion and continue to sc. Fasten off and weave i your ends.
Well done if you reached the end with a finished product congratulations!!!!!!!!!
Please leave me a comment and post your pics to my facebook page. you can also follow my work on instagram @e.neshacrochet
